Labels

Showing posts with label Crafts. Show all posts

Friday, June 21, 2013

Summer Learn & Play Activities

It only took us until mid-June, but I think we're finally starting to fall into a summer routine at home with the boys. It's not much different than the rest of the year with them since I stay home with the twins year-round, but I guess between the boys turning two (and therefore able to do more activities that I see on Pinterest, etc), and it being sooo hot outside (and therefore I'm trying to keep them entertained indoors as much as possible during the mid-day hours), this season has granted us more opportunity for more structured and more creative playtimes.

And since little two year olds are just so cute when they're playing happily, I thought I'd share their recent experiences:


No Mess Finger Painting:


 (great for learning colors, mixing colors, and "writing")


Cookie Cutter Playdoh:


(great for learning the letter/shape they are cutting)
 
 
Apple Paint Stamps:


I guess we're all about shirtless play during this hot weather, huh?

Thanks, Pinterest! (Sorry I don't have links for specifically where I saw these ideas- they're just things I saw in passing which didn't require any directions besides a quick look at the picture.)

Happy Summer!
-beth

Tuesday, February 28, 2012

Paper Covered Letters Tutorial

It's not even been a week since my last craft tutorial, but I feel it's been too long! So here's another recent craft I did, as well as how I did it!

We've all seen the paper or fabric covered letters before, especially in kid's rooms, and I wanted to get some for Eli and Asher. I wanted to take the easy way out and grab them off of Etsy, but I wasn't seeing what I wanted so I took a trip to Hobby Lobby, picked my own supplies, and in the end I got just what I wanted!

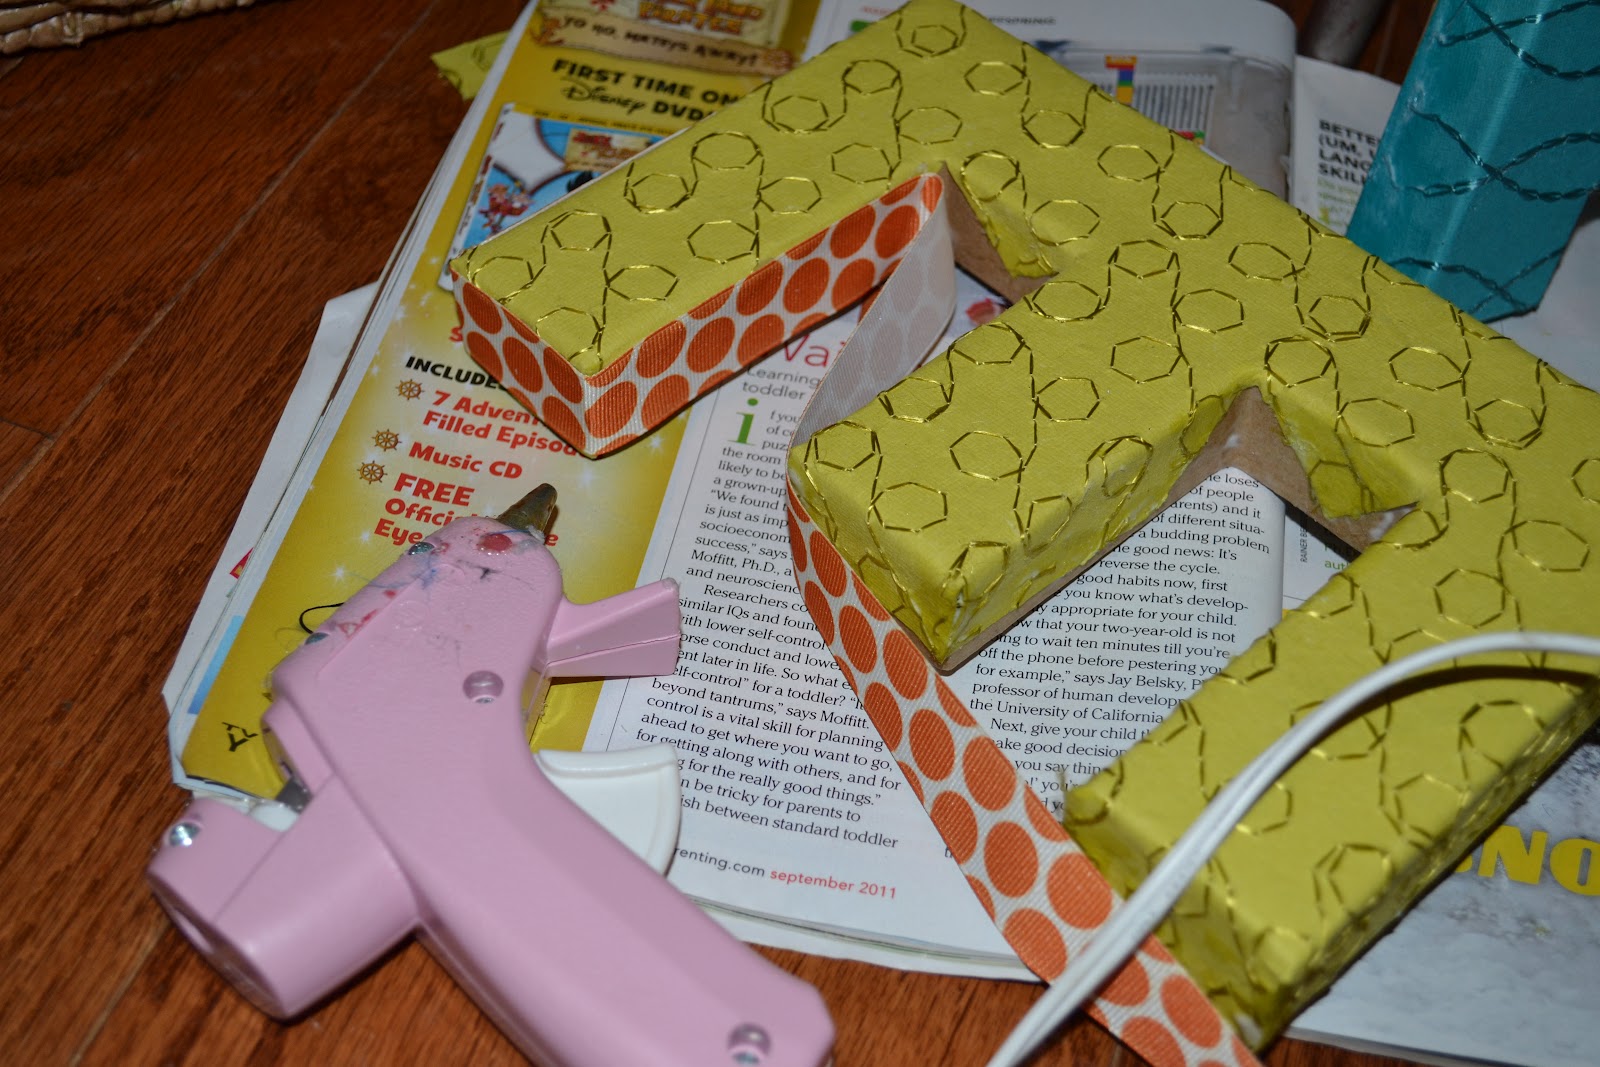
1. To start, you'll need these supplies: kraft letters from Hobby Lobby, scrapbook paper of choice, mod podge, brush, ribbon (sides are 1" but i used 7/8" ribbon and it's fine), and hot glue. (For my letters, I found a weird product in the paper section at hobby lobby that's like a soft paper, so it's almost like thick fabric. That's how I got the stitch detail in mine; the "paper" came like that).


2. Use your brush to put a nice coat of mod podge on the top and sides of your letter. Press your entire sheet of paper flat on top of your letter.
 3. Turn your letter over, trim excess paper, and cut slits and notches where the paper will need to fold over the edges of your letter.
 4. Fold edges up, press, and hold for a few seconds to help them stay in place.
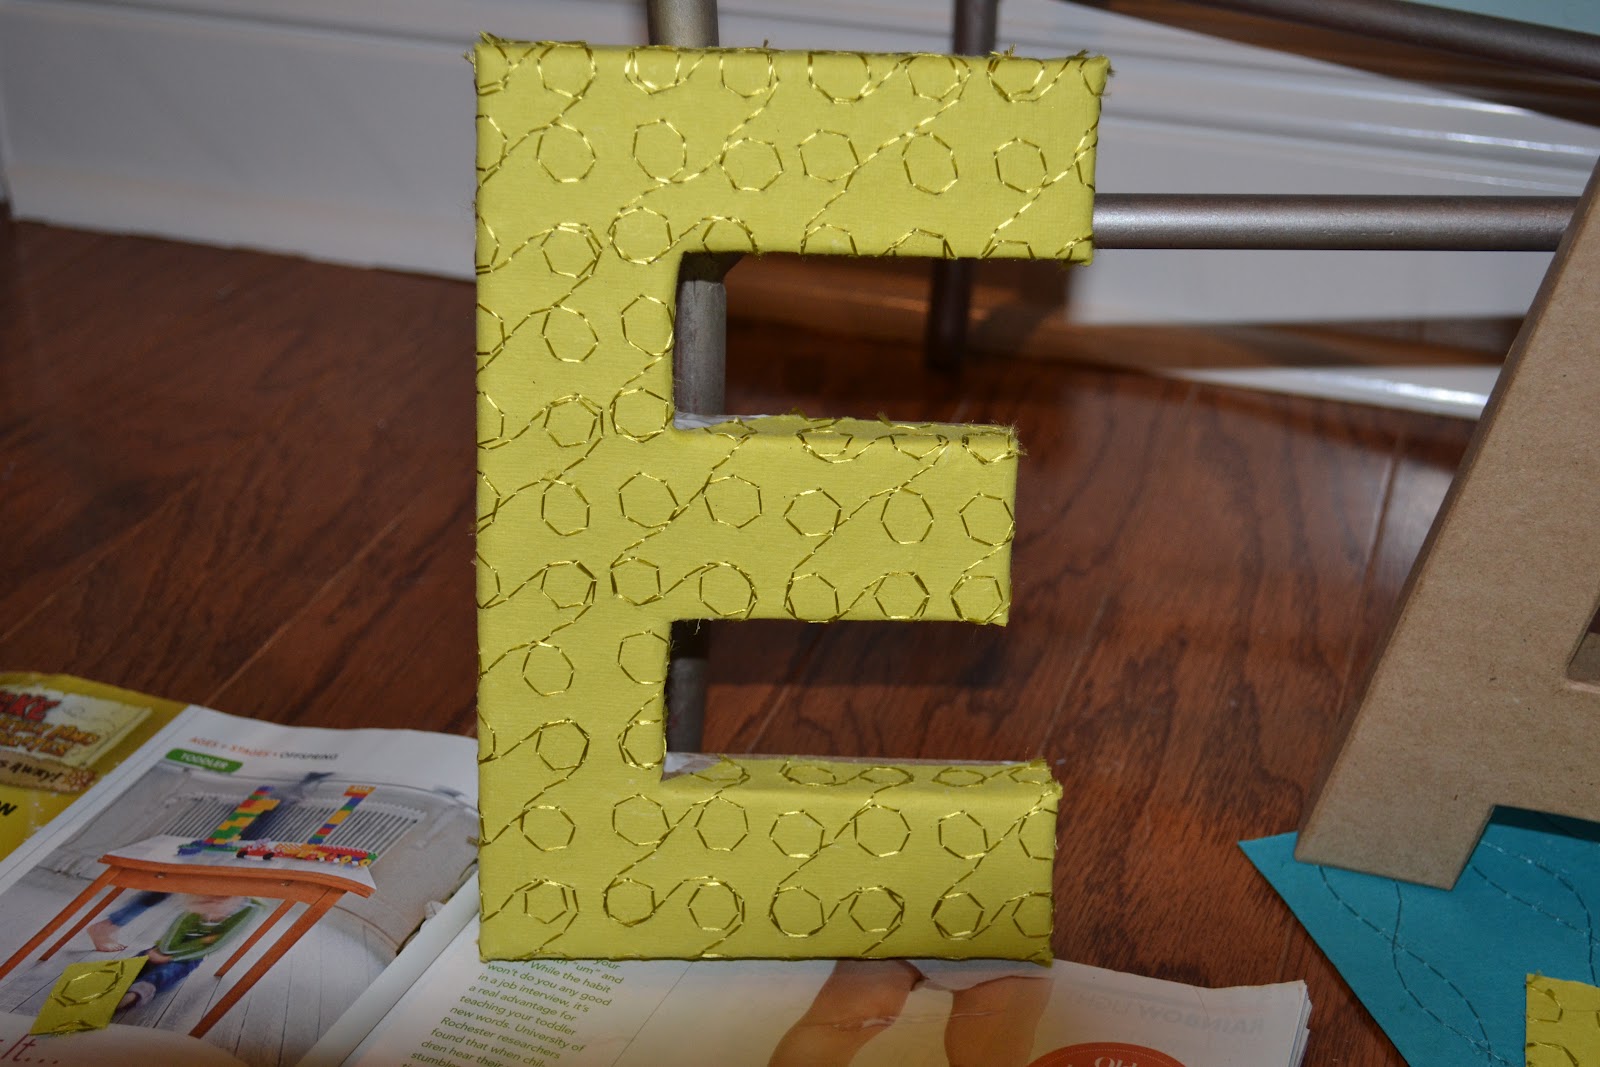
 5. Pretty soon your letter will look like this!
 6. For a more finished edge and a little more fun, add ribbon to the sides of your letter using hot glue. 1 inch ribbon may work best for these particular letters, but I couldn't find any and used 7/8." You can see a bit of the brown near the back of the letter where it doesn't completely cover, but you have to be really looking hard, and it's not a big deal :)
 7. Done!! Check em out!!

Like what you see? I'll gladly take custom orders for cute letter(s) for your kids' rooms or any room in your house! (I have letters that spell "love" in my kitchen!) Just e-mail me at bhiggi5@tigers.lsu.edu. $10/letter.

-BETH

Ps. These letters are for the boys' closet, which is a whole 'nother project in itself! Watch for that blog post soon :)

Thursday, February 23, 2012

Sweet Wall Decor Craft + Tutorial

Introducing my first "real" crafty post! Hooray! I'll show the final product first to get ya excited. Ready?

(click on photo to enlarge and see all of them full-size)

How cute is this laundry sign with just the right touch of color and funk? I can't claim the laundry sign itself, but the touch of DIY craft that made it my own was, well, all my own! And the good news? It's so easy to make your own! I'm here to tell ya how.

1.  Pick up this plain "laundry" sign at World Market for $15 on sale ($19.99 original price), or any piece with a similar row of straight hooks that needs some pizzaz will work! Get creative!


2. Grab your supplies. In addition to your hooks, you'll need your stash of fabric scraps (This is GREAT for those teeny weeny scraps that are too cute to throw away but you can't do anything with them...til now!), a pencil, scissors, hot glue and gun, mod podge and brush, and the correct number of *flat* buttons.


 3. Using your pencil, trace around your button onto your fabric, slightly wider than the button itself. Cut out the tiny circle of fabric.


4. Brush a layer of mod podge around the edge of your button, then brush the top. Place your fabric circle on top, then press the fabric down around the edges of the button to wrap the button. Don't worry if your fabric doesn't completely cover the sides of the button; you won't be able to tell in the final product with it hanging on a wall. (Ps. the pic below is just to show you the mod podge on the button; that huge piece of fabric isn't what you wrap your button in! It's just a small circle of fabric that you are adhereing to the button.)


5. Pretty soon, you'll have several of these beauties and be feeling quite proud!


6. Hot glue the final fabric covered buttons to the ends of your hooks.


7. Hang that baby up on a wall and admire!

Until next time,

beth

ps. Like this idea but don't feel like making your own buttons for the project you have in mind? email me at bhiggi5@tigers.lsu.edu and I'd love to sell you some buttons made by moi through my etsy shop!
http://www.sewallisonwonderland.etsy.com/